Using Negatives and Viewfinders to Experiment
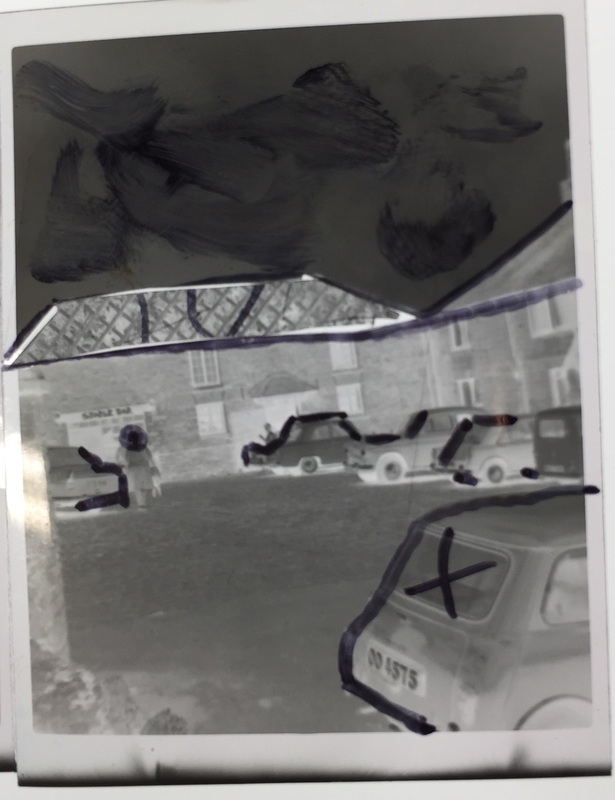
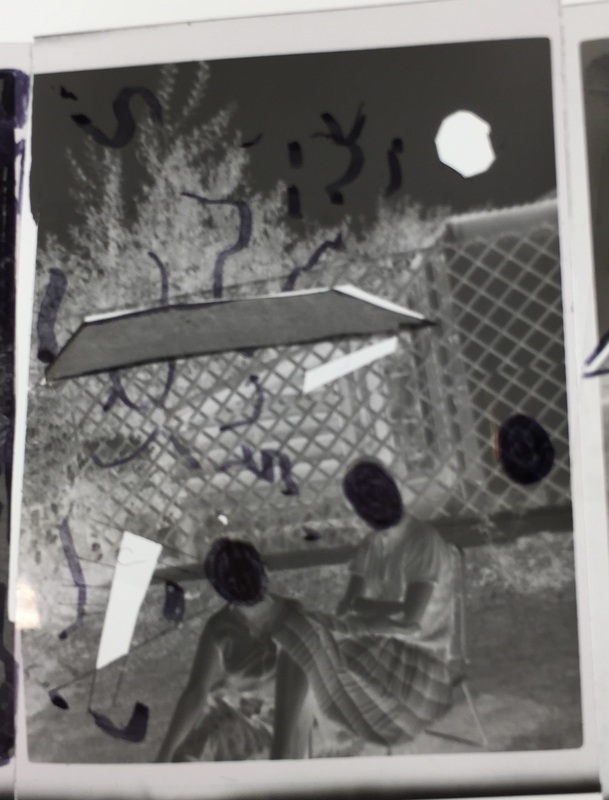
When I received my random found negatives I started to wonder about blacking out sections on the negative, and how that would effect my final outcome. Thinking about this i decided it might look nice if I used a sharpie over peoples faces, outlines of cars and buildings too see if it would create lighter areas on my final outcome. I also wondered if using a scalpel on the negatives to scratch away at it would bring much effect, however the results were hard to notice and weak so I didn't continue with this method very much. I did end up using the scalpel to cut out little shapes in areas of the negative, always thinking about how these would effect the light hitting the photographic paper, I was looking for darker patches in my outcome, opposite to what i was doing with the sharpie. I left one of my four negatives completely unedited for comparison.
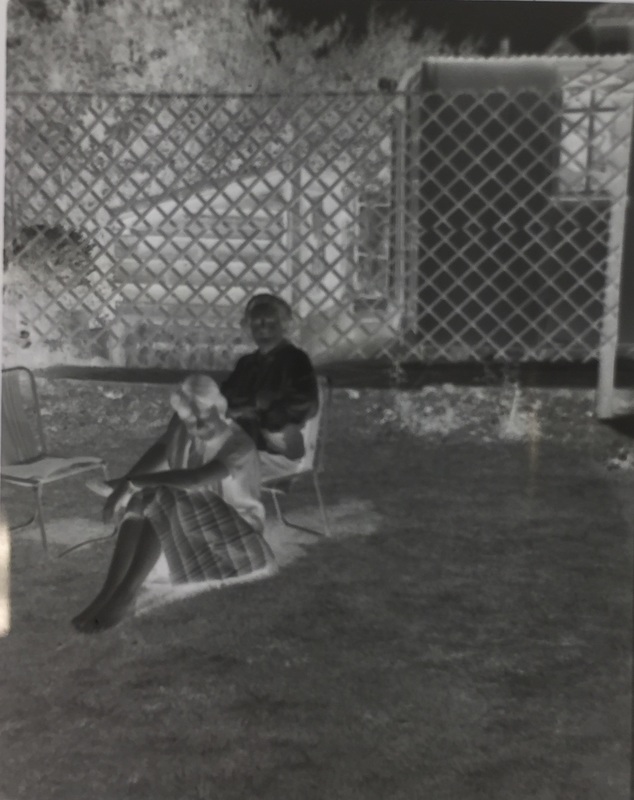
In the end I only used 2 of my negatives, I did two darkroom experiments on one, and one on another, which really taught me a lot about developing my photographic paper, and how to use the aperture on the enlarger.
For my second experiment I used the exact same method as the first time although I did add a lower aperture and exposure time, the result was extremely similar to my first outcome as it was still very dark. I could see that there was some difference, and that there was even a tiny amount more detail. however whilst the photographic paper was developing I noticed that at one point the image was not clouded by darkness, and I realised that maybe I had been keeping the photographic paper in the developer for too long as well as having too much exposure, so i decided that this was what i was going to change in my next experiment.
|
For the first experiment I took my edited negative and placed it in the enlarger, I then used the safety light whilst I focused the projection of light on where I would soon place my photographic paper and made it so the aperture was on 2.8 and set the time of exposure to ()()()(). After i had exposed it I then ran the piece of photographic paper through the developer, stop and fix. The final outcome of my experiment turned out extremely dark, with only little to no detail coming through the whole thing was effectively blacked out. So for the next one I took in to account the bad sides of my previous negative, and decided to lower the aperture to ()()()() and I decided to expose it for less time too. I was hoping that this would cause it to come out lighter on the photographic paper.
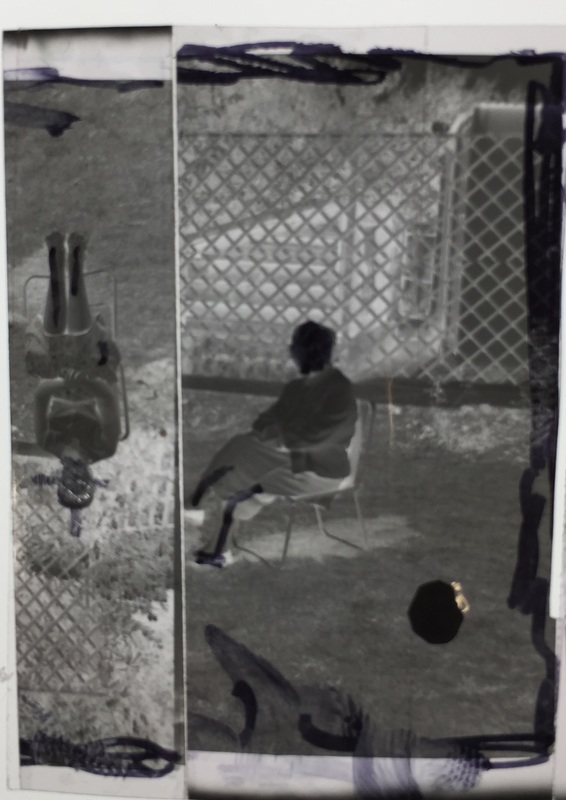
Still using ()()()() as my aperture and ()()()() as my time of exposure I decided to use a different negative as well as try and not let the developer catch me off guard. So whilst my third and final piece of photographic paper was developing I kept a really close eye on it, and when it reached a look i was happy with, I took it up and placed it in the stop as quickly as possible before finally moving it on to the fix. And I found that i was very happy with the outcome, the whole image was visible in detail, and the edits that i had made to the negative had really shown through and given the outcome that i was originally looking for.
|
All in all I think that my experimentation was a success. I set out too manipulate my negatives in a way that would cause them too come out looking creepy and sinister, and I definatly think that this goal has been achived. However I would have liked to maybe spent more time cutting out and replacing in more intricate detail, however the photos till turned out well so i am happy.
mary stark and helen peart
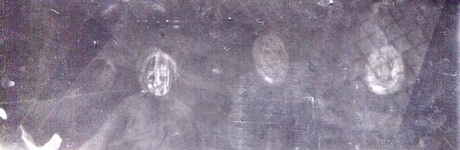
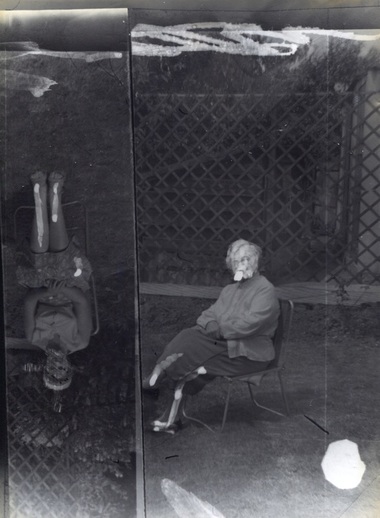
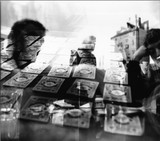
Mary Stark and Helen Peart are two artists who collaborated with each other to create a project where they explored the materialism of photography. They did this by changing and manipulating an array of negatives, seeing how different chemicals and actions would effect the final outcome of the image. Personally I really like how the images come out after they have been through the manipulation process, as they seem so eerie and ghostly it almost seems as if every photo has its own weird story.
|
|
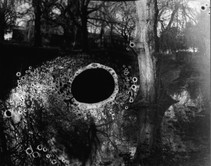
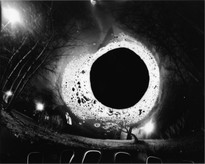
They used various different methods to change and manipulate the negatives, scrunching them, scratching them and even tearing them. The photos to the left are outcomes of two different methods of manipulating which i personally liked the most. The two photos with the big black dots in the middle of them at the top have actually had holes burned through the negative which is what the black dot is. I really liked this technique because of the really nice bubbly effect that appears around the burn hole, and becuase of the mystery of it, like, what would have been where the hole has been burned out, and why they chose too burn this particular part of negative, were they concealing something?
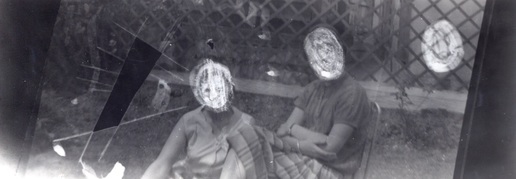
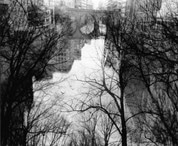
The photos below the ones with holes burned in to them were actually exposed with two negatives on top of each other creating this really cool, almost ghost like effect, which i really liked because it makes the photos feel really eerie and incredibly sinister which i really enjoy. |
I definatly took inspiration from these artist when it came too creating my own experimental negatives, of course I couldn't burn a hole in the negatives, and I didn't have enough negatives to be overlapping, but I really wanted to recreate the sinister eerie feel that came of these photos, in my own work.
